This is a quick guide on how I have been setting my clients up with Tailscale. This allows a computer to join the domain and have an always-on VPN connection. This is by no means the only way but it is the way I am doing it.
Create a Tailscale account (This will be the Admin user) https://tailscale.com/
Install Ubuntu Server on a minimal server, 1core, 1024 ram 30GB storage
- Download ubuntu server https://ubuntu.com/download/server (option 2)
- Create VM and label your install
- ignore all features but enable SSH for ease
Once installed log into the server with SSH
Install instructions: https://tailscale.com/download/linux but basically follow below:
- Install tailscale:
curl -fsSL https://tailscale.com/install.sh | shthen: sudo tailscale up- Run the following to fix the ipv4 issue: found at https://tailscale.com/kb/1104/enable-ip-forwarding/
echo 'net.ipv4.ip_forward = 1' | sudo tee -a /etc/sysctl.conf
echo 'net.ipv6.conf.all.forwarding = 1' | sudo tee -a /etc/sysctl.conf
sudo sysctl -p /etc/sysctl.conf- Connect Linux box as a subnet router, change Advertised routes to IP addresses internally:
sudo tailscale up --advertise-routes=10.0.0.0/24,10.0.1.0/24
- Go to the Tailscale website and enable the Subnet route on the machines page then go to Edit route settings

- Turn on the Subnet

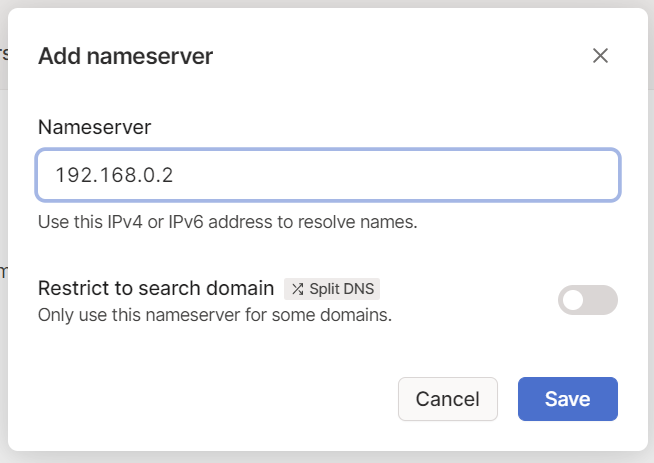
- Go to DNS and click on add Nameserver and type in the internal nameserver address and save.

- enable override local DNS

- Install Tailscale client
1 thought on “Setting up tailscale for domain networks”